How to Wrap Gift Styles at Home: Step-by-Step DIY Guide
Gift wrapping isn’t just about presentation—it’s part of the gifting experience itself. Whether you’re preparing a birthday surprise, holiday present, or heartfelt thank-you, learning how to wrap a gift at home adds a thoughtful and creative touch to every occasion. This step-by-step guide covers everything you need—from basic supplies to advanced techniques—to help you create beautifully wrapped gifts at home that leave a lasting impression.
Essential Gift Wrapping Supplies You Need at Home
Before you start, gather the right tools. Having your wrapping essentials ready will make the process quicker, smoother, and more enjoyable.
Basic Gift Wrapping Materials:
- Wrapping paper or Kraft paper
- Scissors or paper cutter
- Tape (double-sided works best)
- Tissue paper
- Ribbons and bows
- Gift tags or labels
- Glue dots or hot glue gun
How to Prepare Before Wrapping a Gift
Preparation makes all the difference in achieving a clean, stylish wrap. Here’s what to do before getting started:
- Clear a flat, clean workspace.
- Measure your gift and cut the paper accordingly.
- Remove price tags and packaging stickers.
- Choose your wrapping style in advance (classic, rustic, minimalist, etc.).
- Pre-cut accessories like ribbon, twine, or tags.
By organizing upfront, you’ll reduce waste and avoid common wrapping mistakes.
Step-by-Step Guide: How to Wrap a Box-Shaped Gift
This classic method works well for most rectangular or square gifts. Follow these steps for a polished, professional look:
- Place the wrapping paper flat, print-side down.
- Center the gift box upside down on the paper.
- Fold one edge of the paper over the box and secure with double-sided tape.
- Fold the opposite edge, creating a clean seam, and tape it down.
- For the sides, fold in the corners to form triangle flaps.
- Fold the top and bottom triangles inward and tape securely.
Add finishing touches—like ribbon, a bow, or a custom tag.
How to Prepare Before Wrapping a Gift
Preparation makes all the difference in achieving a clean, stylish wrap. Here’s what to do before getting started:
- Clear a flat, clean workspace.
- Measure your gift and cut the paper accordingly.
- Remove price tags and packaging stickers.
- Choose your wrapping style in advance (classic, rustic, minimalist, etc.).
- Pre-cut accessories like ribbon, twine, or tags.
By organizing upfront, you’ll reduce waste and avoid common wrapping mistakes.
Step-by-Step Guide: How to Wrap a Box-Shaped Gift
This classic method works well for most rectangular or square gifts. Follow these steps for a polished, professional look:
- Place the wrapping paper flat, print-side down.
- Center the gift box upside down on the paper.
- Fold one edge of the paper over the box and secure with double-sided tape.
- Fold the opposite edge, creating a clean seam, and tape it down.
- For the sides, fold in the corners to form triangle flaps.
- Fold the top and bottom triangles inward and tape securely.
- Add finishing touches—like ribbon, a bow, or a custom tag.
Creative Gift Wrapping Styles to Try at Home
Want to go beyond basic wrapping? Try these trendy and personalized gift wrap ideas:
Rustic Gift Wrap:
- Use Kraft paper, tie with natural twine
- Add dried flowers or pine sprigs for texture
Minimalist Style:
- Stick to neutral wrapping paper
- Add a simple ribbon or twine in black or gold
Eco-Friendly Gift Wrap:
- Use old newspapers, brown bags, or Furoshiki fabric
- Avoid plastic bows and tape—opt for reusable alternatives
Luxury Gift Wrap:
- Choose metallic or glossy paper
- Embellish with velvet ribbon and a wax seal
Kid-Friendly Wrapping:
- Use vibrant colors or cartoon-themed paper
- Add stickers, glitter, or playful ribbons
How to Wrap Irregular or Odd-Shaped Gifts
Not all gifts come in neat boxes. Here’s how to handle tricky shapes:
- Bottles or Cylinders: Use the candy-wrapper technique—twist both ends like a sweet.
- Soft Items (like clothing): Wrap with tissue paper and place in a reusable bag.
- Irregular Shapes: Wrap with extra paper and use tissue or bubble wrap for padding.
- Multiple Small Items: Group them in a decorative basket or inside a larger box.
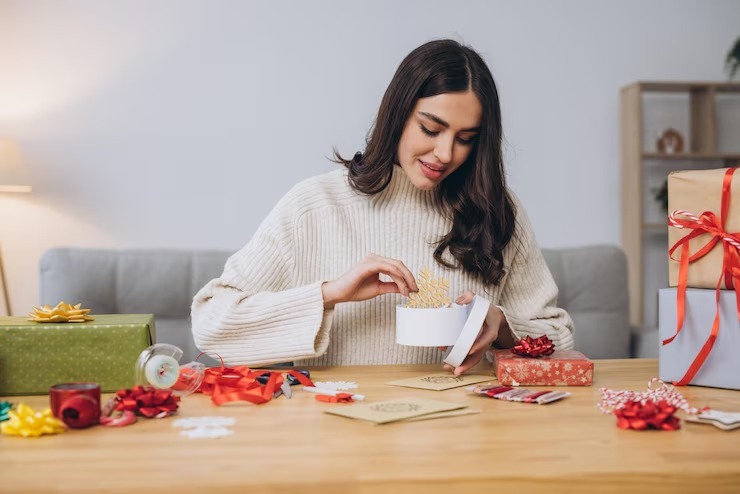
Decorating Your Gift: Final Touches That Wow
Small, thoughtful details can elevate your gift to the next level. Here’s how to decorate your wrapped present:
- Use handwritten gift tags or name labels
- Add fresh or dried herbs (like rosemary or lavender)
- Create your own bows using leftover fabric or paper
- Use stamps, stickers, or washi tape for personalization
- Try calligraphy for writing names or short messages
Expert Gift Wrapping Tips for a Polished Look
Want to wrap like a pro? These quick hacks make a big difference:
- Iron out creases in wrapping paper for a smooth finish.
- Use a ruler or paper cutter for clean, straight edges.
- Save scraps of ribbon and paper for future small gifts.
- Invest in a tape dispenser to speed up the process.
- Store wrapping paper in a garment bag to prevent damage.
Final Thoughts
With just a bit of planning and creativity, you can master how to wrap gift styles at home for any occasion. From eco-friendly wraps to luxurious designs, your presentation can speak volumes about the thought behind the gift.